Sourdough in a Small Kitchen: Four Common Mistakes and How to Correct Them
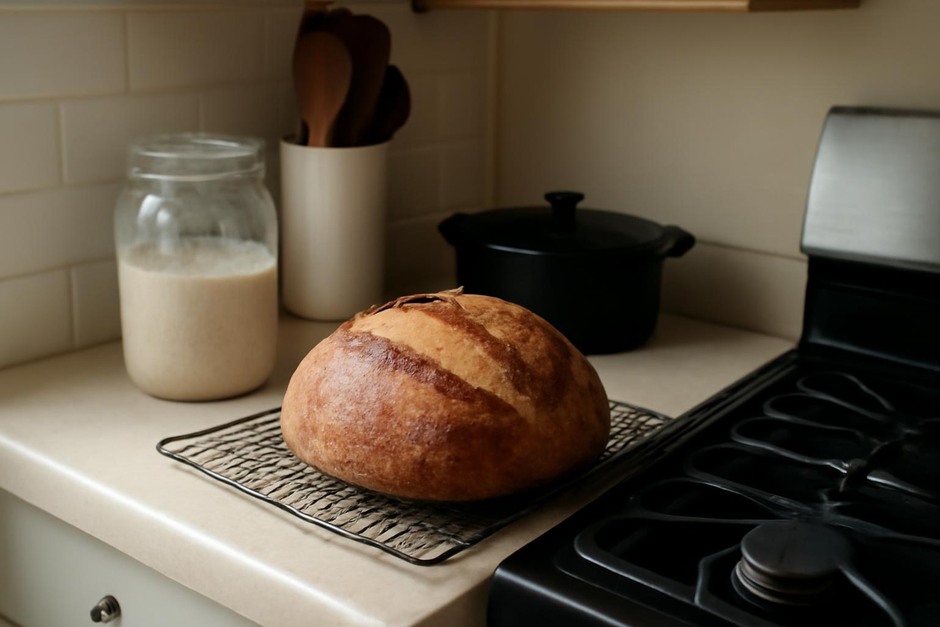
There is a particular satisfaction in coaxing an open-crust sourdough loaf from an oven tucked into a tiny kitchen. Small spaces change how dough behaves: temperature shifts faster, storage is tighter, and even a single counter can feel crowded during a bake. Below is a calm checklist of four thematic areas where home bakers often stumble, followed by practical corrections that respect limited space and time.
1. Starter Care: Mistake—Neglecting Rhythm
Common mistake: letting the starter drift between extremes—ignored for days, then overfed in a rush. In small homes, a starter can be moved into an awkward corner and forgotten until it acts up.
- Why this matters: An inconsistent feeding schedule leads to unpredictable acidity and rise, which affects flavor and dough strength.
- Quick corrections:
- Choose a reliable spot: Keep your starter in a consistent place where you’ll notice it—near the kettle, on a low shelf, or inside a cupboard with a clear sightline.
- Simplify the routine: Adopt a twice-daily or once-daily feed depending on fridge use. If space is tight, store the starter in the fridge and feed it weekly, then revive with a warm feed 4–8 hours before baking.
- Use small containers: A narrow jar takes up less room and makes it easier to maintain the right ratio of flour and water without waste.
2. Space and Temperature: Mistake—Ignoring Microclimates
Common mistake: assuming every countertop behaves the same. A south-facing window, a drafty nook, and the top of the fridge all offer distinct temperatures that affect proofing speed.
- Why this matters: Proofing too fast or too slow changes dough structure and flavor.
- Quick corrections:
- Map your kitchen: Notice where temperatures differ across the day. Use that knowledge to place dough intentionally—cooler spots for slow retards, warmer spots to finish a quick proof.
- Use simple aids: A folded towel over a dough bowl, a turned-off oven with the light on, or a warm water bath in a shallow tray are compact ways to control proofing without special equipment.
- Embrace ambient proofing when possible: If the kitchen is cool, plan for longer bulk fermentations. This can improve flavor and reduce the need for strict timing.
3. Shaping and Handling: Mistake—Overworking in a Hurry
Common mistake: rushing shaping on a crowded counter or using too much flour to prevent sticking. Both can deflate dough or produce a dry surface that resists oven spring.
- Why this matters: Gentle tension and minimal extra flour give the loaf structure and a better crust.
- Quick corrections:
- Create a small shaping station: Clear a single tray or use a rimmed baking sheet as your work surface so you can move dough without knocking into other items.
- Use bench flour sparingly: Sprinkle very little on the surface, or work with wet hands to prevent sticking. Lift and fold rather than aggressively kneading.
- Practice coil folds: For slack doughs, coil folding in the bowl conserves space and builds structure without a long turn-by-turn process.
4. Baking and Storing: Mistake—Ignoring Steam and Cooling
Common mistake: skipping steam in the oven to save effort, or wrapping a hot loaf immediately to reclaim counter space. Both steps harm crust development and crumb texture.
- Why this matters: Steam encourages a thin, glossy crust and better oven spring; proper cooling prevents a gummy interior.
- Quick corrections:
- Produce steam simply: A small oven-safe pan with a cup of hot water, or a cast-iron skillet preheated and then splashed with water, creates enough steam for a good crust without extra gadgets.
- Create a temporary cooling nook: If counter space is scarce, cool the loaf on a wire rack set over a folded towel on a small table or shelf. Allow 1–2 hours of cooling before covering.
- Store smartly: Once cool, store the loaf in a paper bag or a linen bread bag to maintain crust while preventing it from drying out too quickly in a compact home.
Small kitchens require small adjustments: predictable starter care, attention to microclimates, gentle shaping on a tidy surface, and mindful steaming and cooling. Each correction preserves the qualities we bake for—open crumb, crisp crust, and the quiet pleasure of a homemade loaf—without asking for more space than you have.
Measured conclusion
Treat sourdough in a small kitchen as a practice in constraints. The mistakes listed here are common because they arise from ordinary habits and limited room. Tackle them with small, repeatable actions: a chosen jar on a chosen shelf, a mapped warm corner, a cleared tray for shaping, and a modest steaming trick. Over time those modest corrections become routine, and the loaves that follow will reflect the calm attention you give them rather than the size of your workspace.